
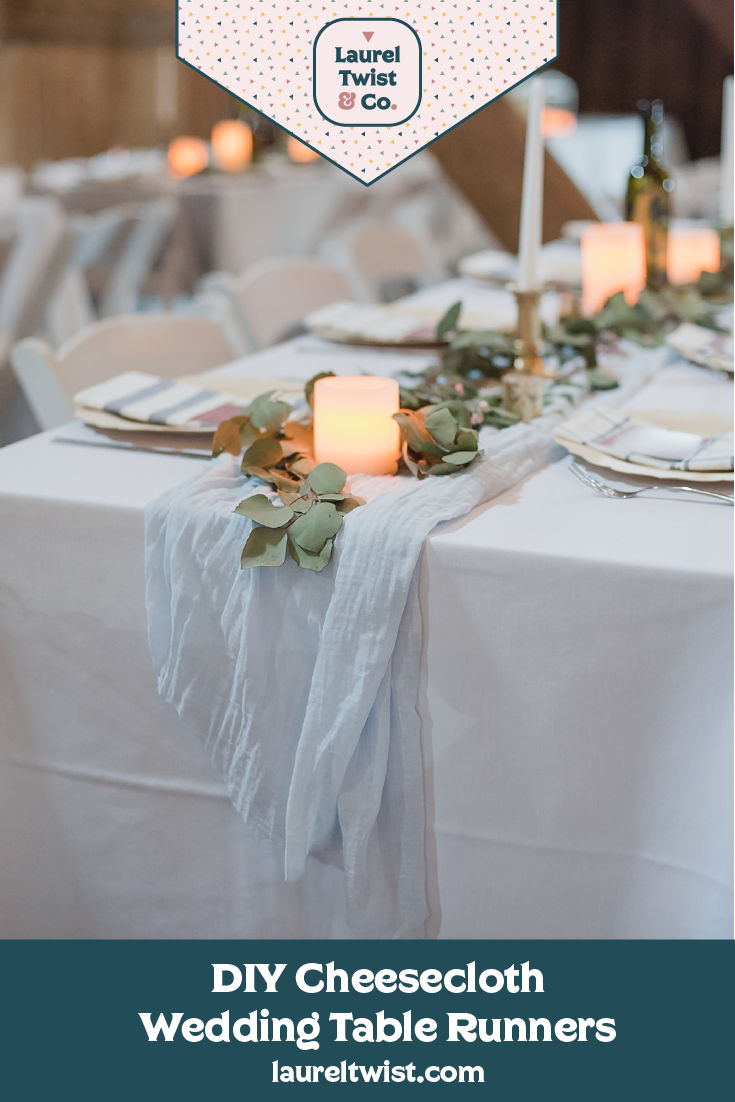
DIY Cheesecloth or Gauze Wedding Table Runners
Last summer after months of planning and countless DIY adventures, I got married. From the food, to the venue, to the dessert - we wanted to have a non-traditional, memorable day. I think it took all but one week worth of wedding planning to realize we were going to need to get very crafty, literally, to execute the vision in my head. In the end, we had a perfect, rustic wedding that was uniquely ours. I want to share some tips & tricks for how we got there, and hopefully help a DIY Pinterest bride or two fulfill her dreams.
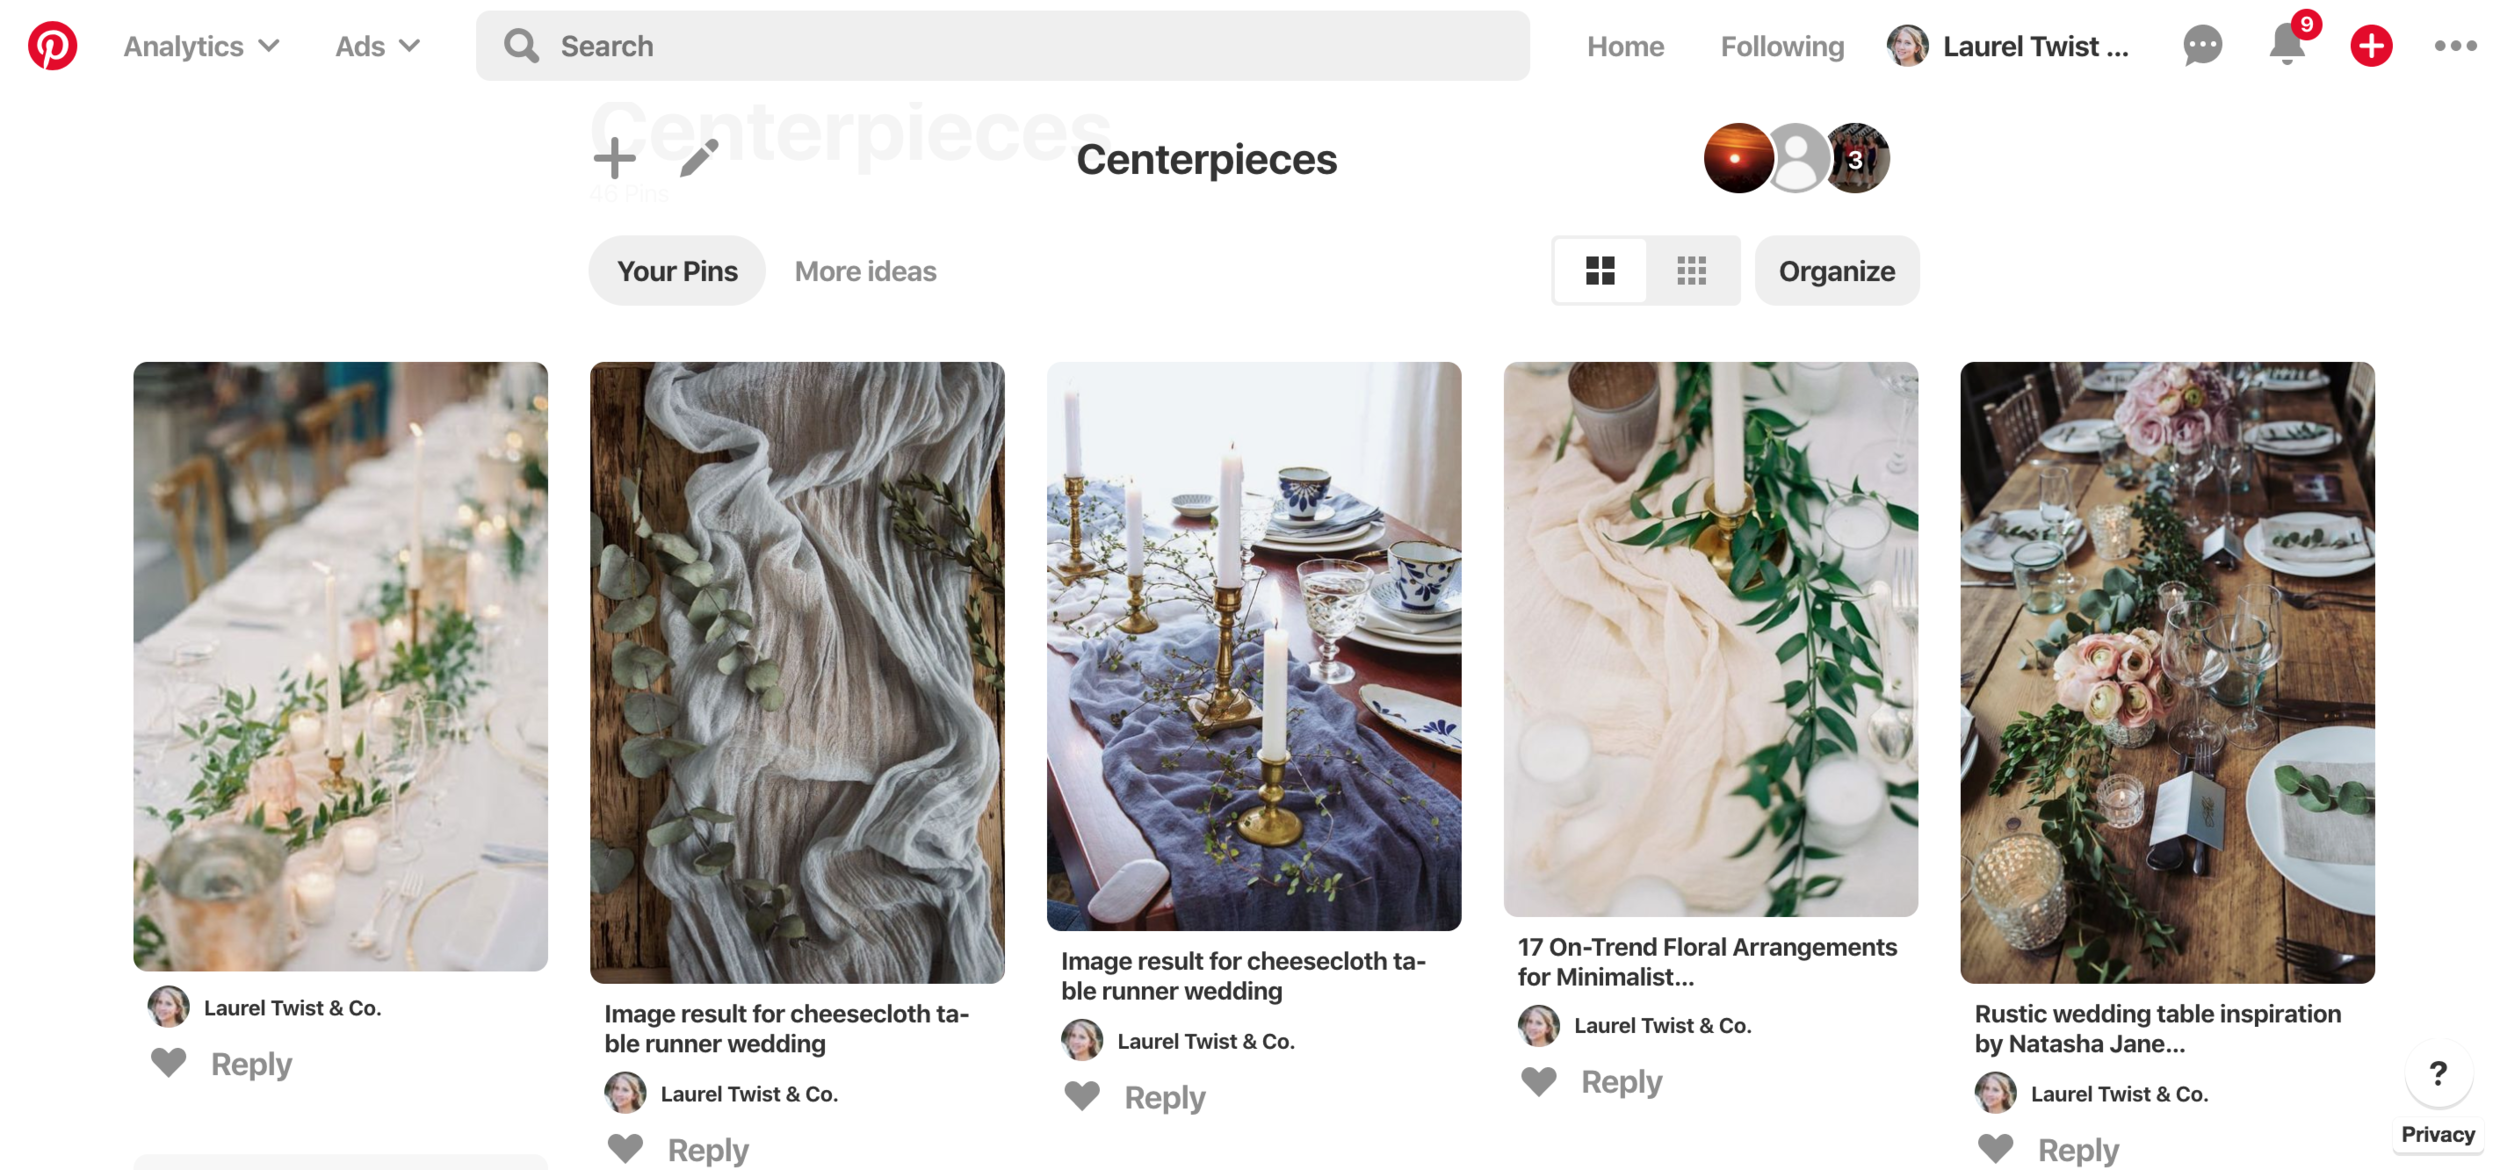
After much debate on what to do for centerpieces, I finally settled on those soft, cascading, gorgeous boho cheesecloth table runners we see all over Pinterest. Just what we needed to brighten up our venue - literally an empty barn. Etsy got me with their tricky pricing, I fell for the $4 price tag that was actually the price of ONE napkin (ugh! Wedding price gouging..).
Let’s talk about how I saved over $450 by DIY-ing cheesecloth table runners of my own. Full materials list at the bottom of this post (as an added bonus - we sold them after the fact!).
Disclaimer: This website uses affiliate links, meaning: at no additional cost to you, we earn a small commission if you click-through and make a purchase. As an Amazon Associate I earn from qualifying purchases.
Find Space
First, make sure you have ample space outdoors, or an amazing friend gracious enough to let you take over her yard (twice) and spend hours outside in the Texas July heat with you. I ordered this cheesecloth off of Etsy (shorter length on Amazon), and it was enough to make 10ft table runners for all my tables, plus extra to hang from above the dance floor.

collect materials
One important thing to pay attention to is the grade of the cheesecloth. The higher the grade, the finer the weave. You certainly don’t want your table runners looking like fishing nets...unless you’re having a beachy theme, then it could be perfect! I used Grade 90 and they were flowy and soft.
Measure Twice, Cut Once
Now that you have your cheesecloth, you’ll want to cut it before dying as it is much easier to manage. I had 8ft tables and I added 2ft for a small overhang making them 10ft. I wish added a little more as it does seem to shrink slightly after the process is done. I used a fabric cutting board to measure, and my (then) fiance held the fabric in place - it is much easier with more than one person!
Pick Your Color and Create Your Dye Bath


I used the dye and formulas from Rit Dye to create the color I wanted. Remember that it will dry lighter than it appears when wet, and the effectiveness of the dye bath definitely weakens over time. We learned that the hard way and had to re-dye the table runners again as they were nearly white after the first round.
Make a Test Swatch

I thought this color was a little dark, so I added more water to my dye bath. This was a mistake! I didn’t wait long enough to see the color once the swatch was dry, this is how I ended up dying them all a second time...so...be patient!
Set up your Workspace
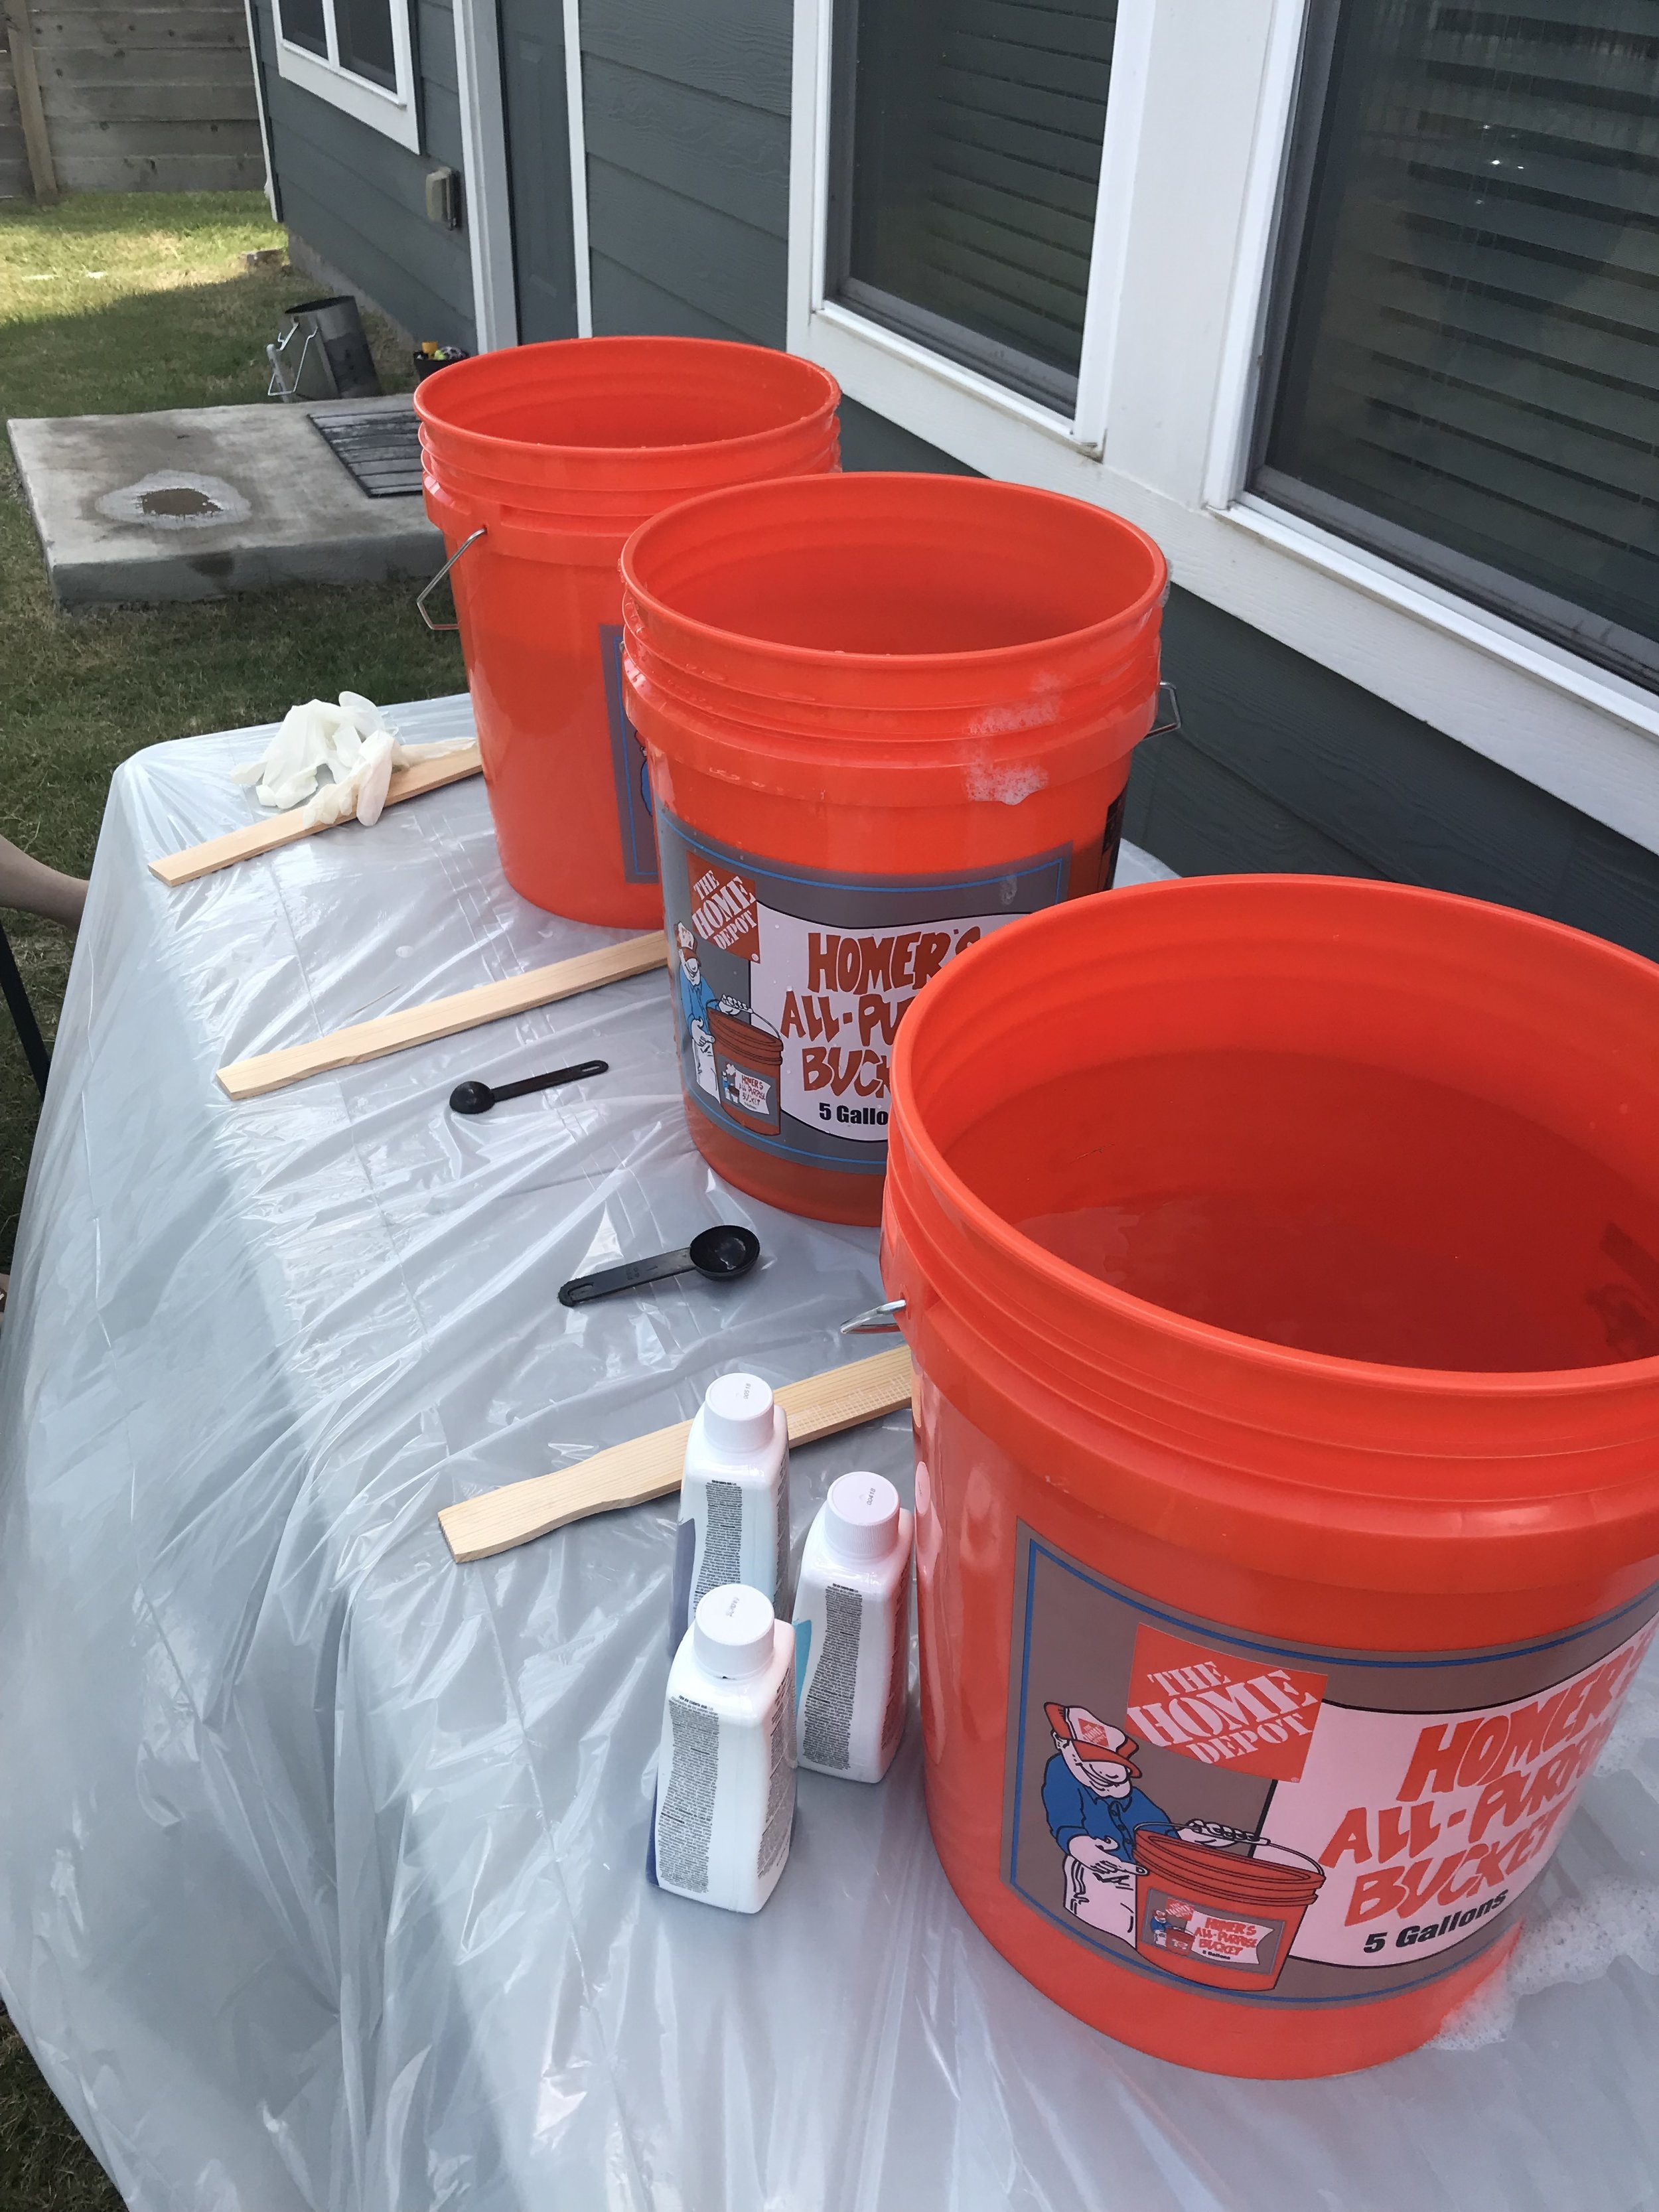

You’ll need a pre-rinse, dye bath, post-rinse bucket. We quickly learned that with number of runners we had to dye, a second dye bath was a huge time saver…….eventually we graduated to a kiddie pool pre-rinse bath, haha!
Start Dyeing!

First, wet your material in the first bucket. Next, move your material to the dye bath, ensuring the fabric has space to move freely (and thus dyed evenly) throughout the space. Stir as needed and let sit for about 10-12minutes. Last, rinse your dyed fabric in the last bucket and hang to dry. That’s it! The Rit website gives detailed instruction and extra tips here. For richer colors, you may have to repeat the process at least twice.
Do you think you’ll give this DIY a shot? Share your adventure and results on Instagram and tag us @laureltwistco!
Materials:
Cheesecloth or from Amazon
Supplies:
Scissors
Water
Dishwashing liquid (promotes level dyeing)
